While ruminating on the drill press speed reduction effort, I decided to make a simple project, a top that flips. This is from "The Home Shop Machinist" Vol. 37, No. 4, pg 34. I am at the beginning of creating an electronic index of all of my metalworking magazines. I noticed this project and thought it looked fun. It uses the ball turning tool, which I enjoy using. It is also written from the Sherline lathe's perspective.
A 1 1/2" diameter hex rod of aluminum was cut to 5". One end was faced using the South Bend lathe. 1 5/8" was reduced to 1 3/8". The reduced part was cut off with a hacksaw. This cut end was faced in the Sherline and then all but 1/2" was reduced to 1.250".
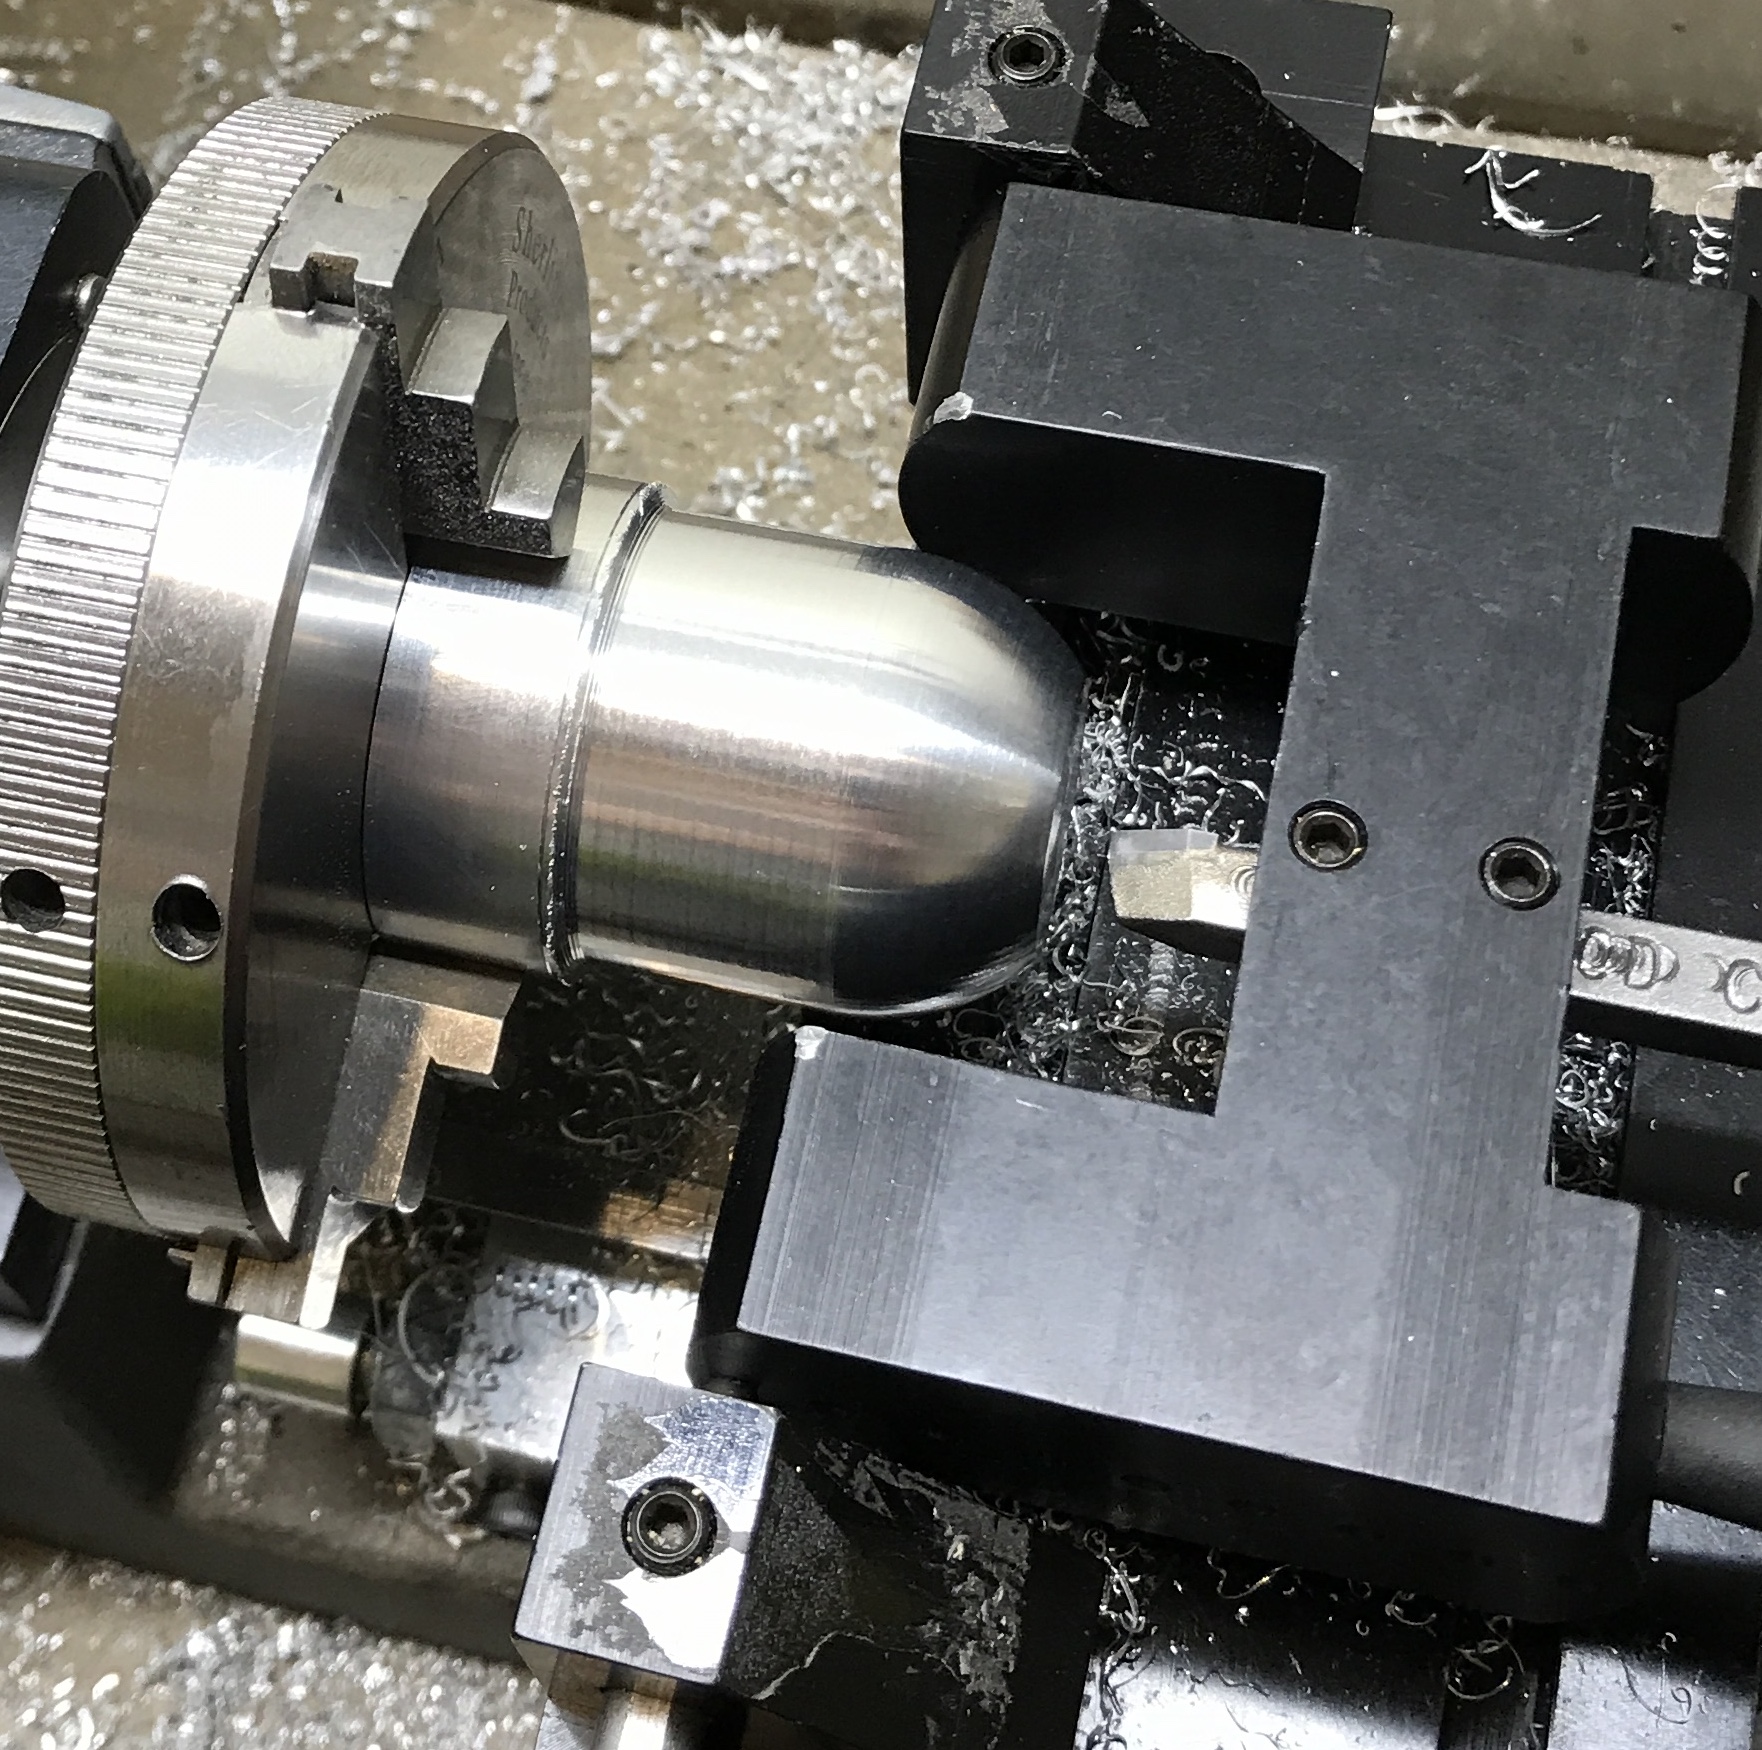
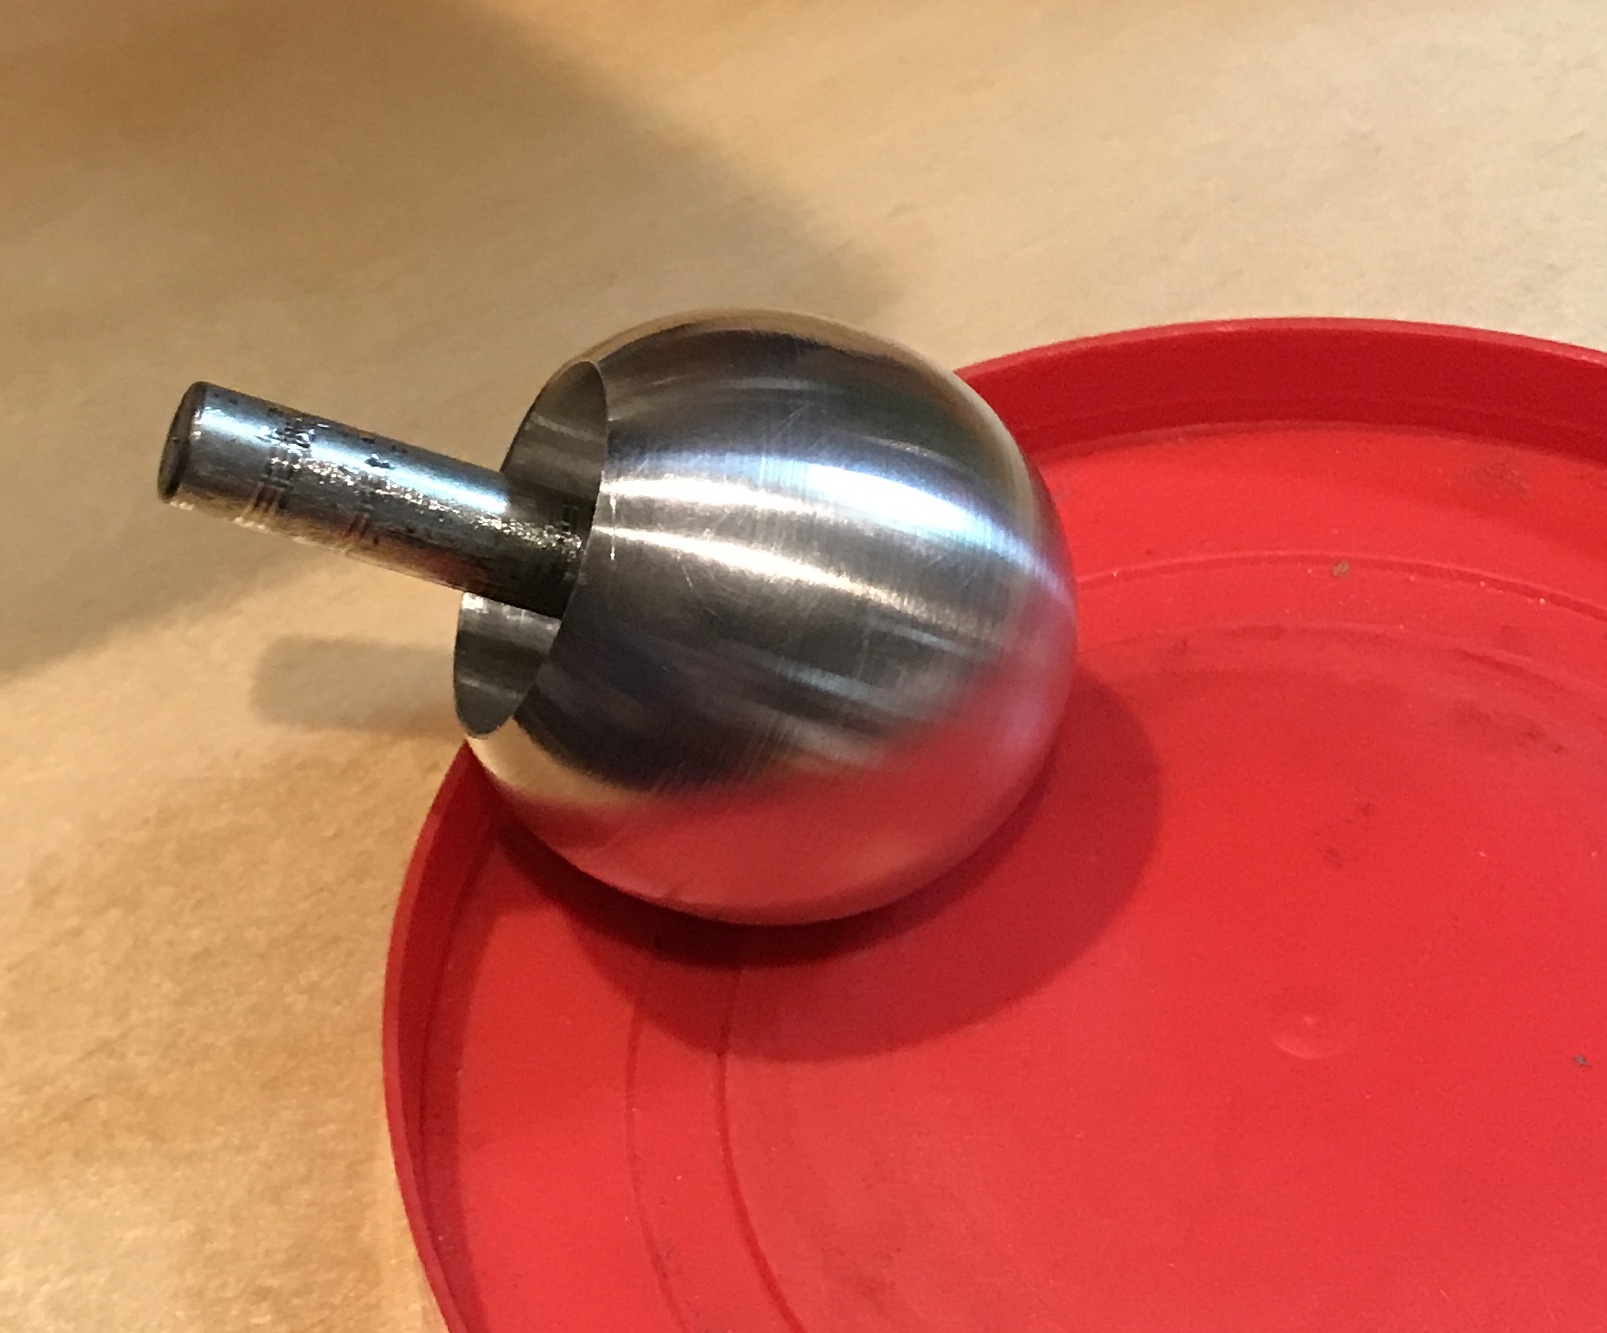
The radius cutting attachment was installed. The tool was adjusted so the tip was just touching the top of the part. The cross slide was set so the tool was on center. The tool was moved to the end of the part and then backed off 0.125". The stop was put in place at this point. Multiple passes were made at 0.020" depth very slowly. This gave a good finish. The last few cuts were reduced to 0.015" depth of cut. The photo below shows the finish produced. A flat is left on this end for drilling and boring.
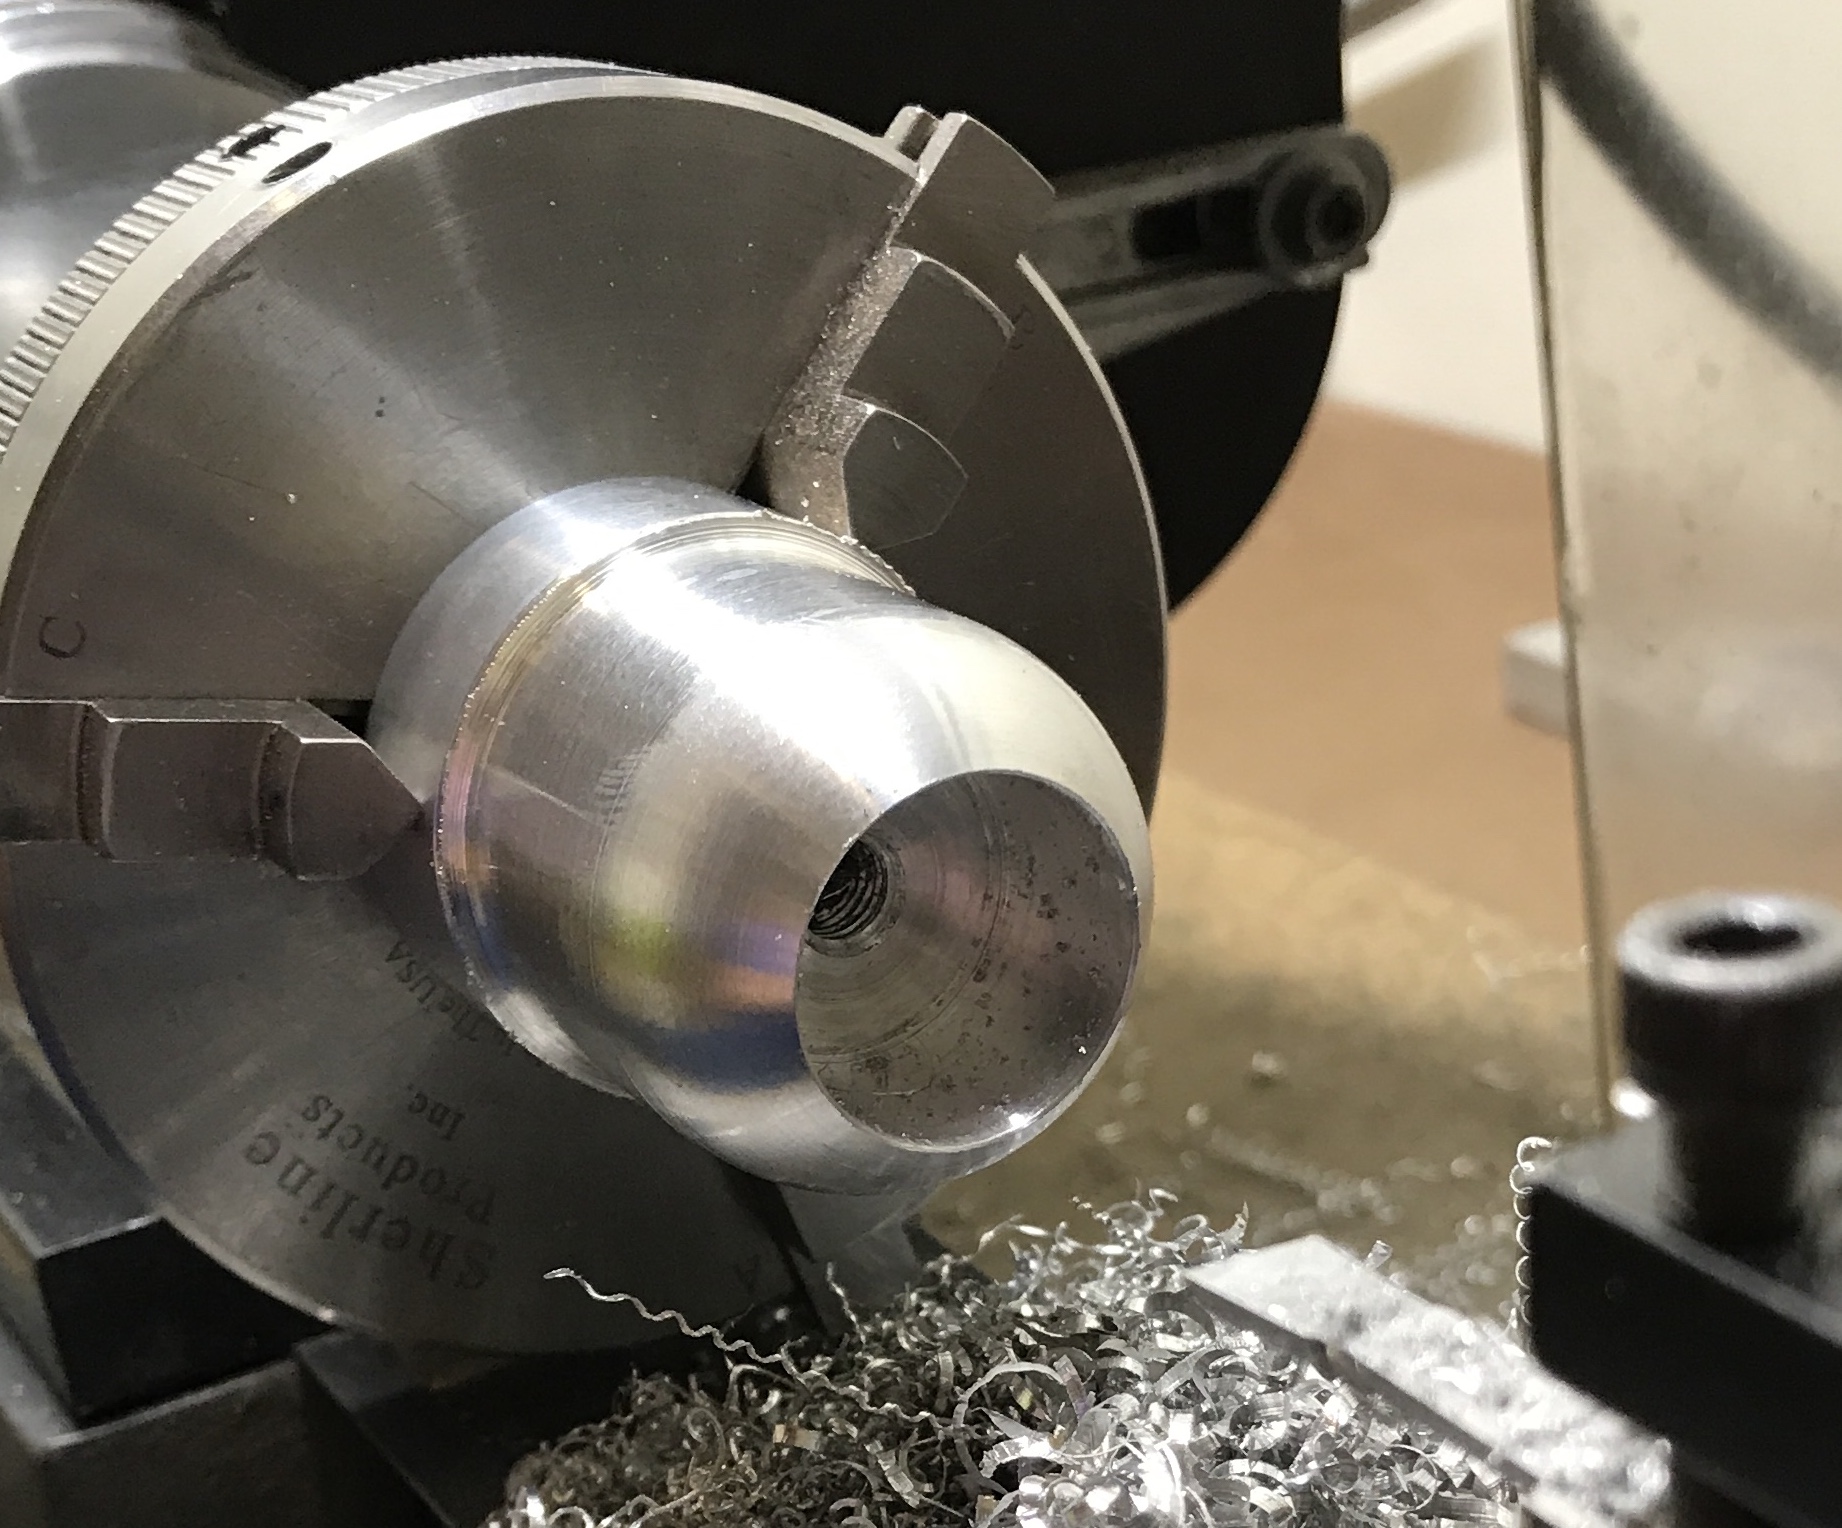
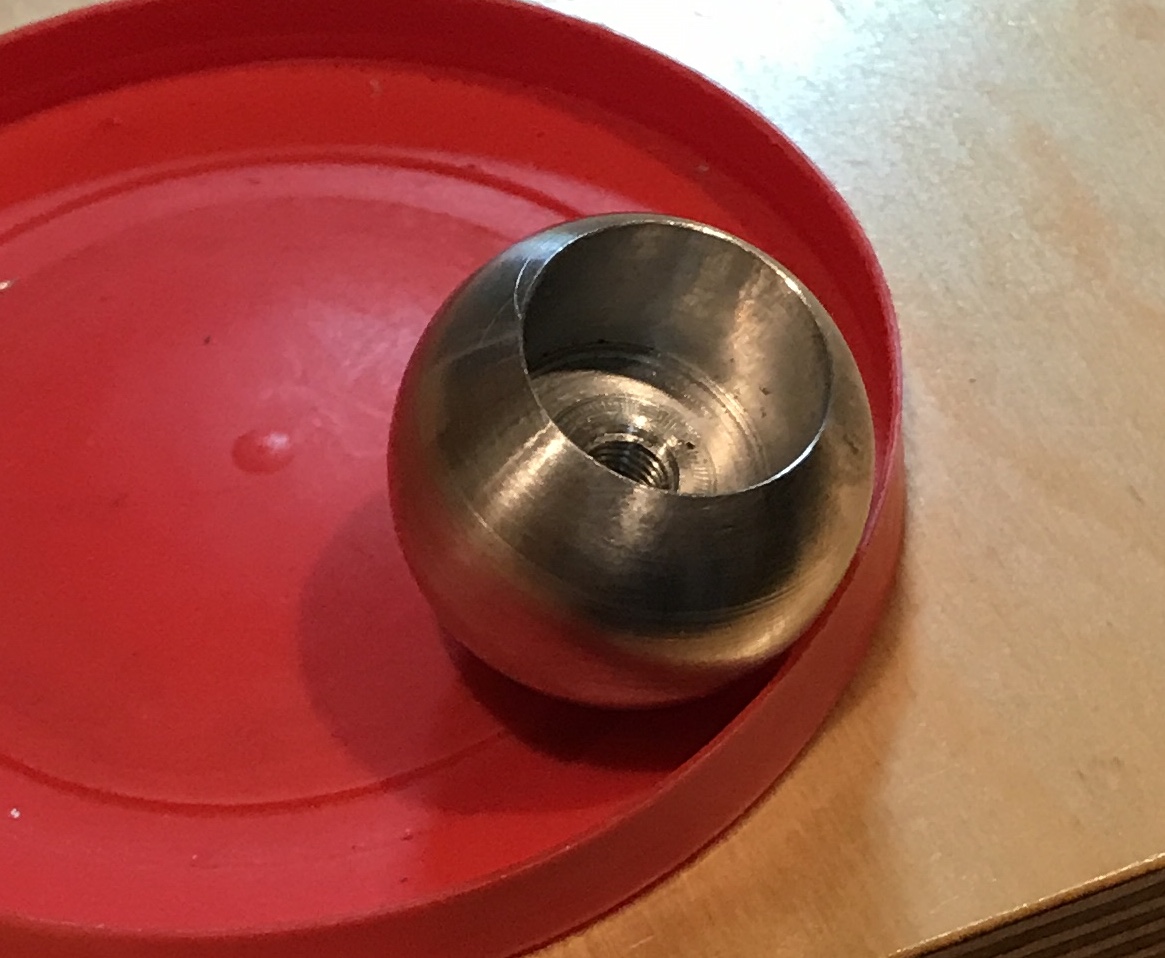
The round end was first center drilled and then drilled 1" deep with a #3 drill. The hole was opened to 3/4" with the Sherline boring bar. This hole was bored 1/2" deep. The sharp edge of the hole was filed. The picture below shows the bored hole.
The hole was threaded 1/4-28. The cylinder was screwed onto a 1/4" steel rod that was also threaded 1/4-28 as an arbor. The rod was held in a collet and the end was cut off. First a parting tool was used then the cut was finished with a hacksaw. The end was faced to about 1 1/8" length. The radius tool was reassembled and the ball was formed. There was a slight flat on the center line. This was removed with some filing. The entire part was sanded with emery cloth and then with a gray Scotch pad and WD-40. The ball still on the arbor is shown below. It is still on the arbor as I have yet to figure out how to get it off! Held the arbor in the vise and was able to unscrew the ball wearing a rubber glove.
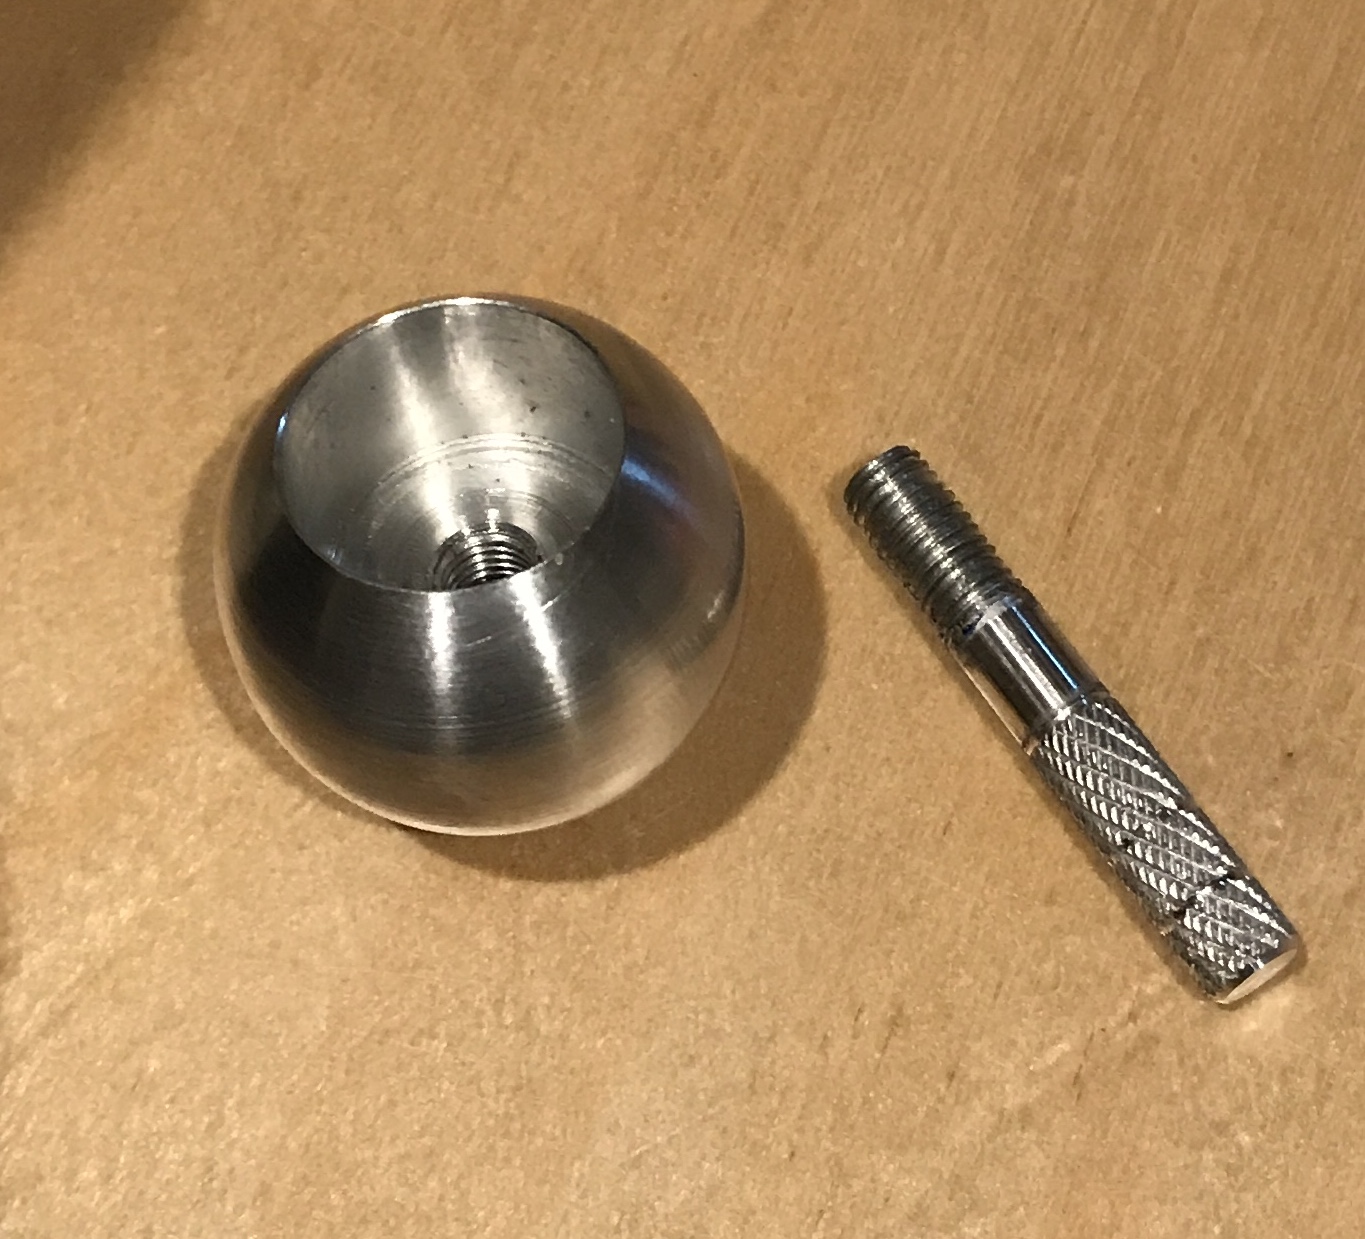
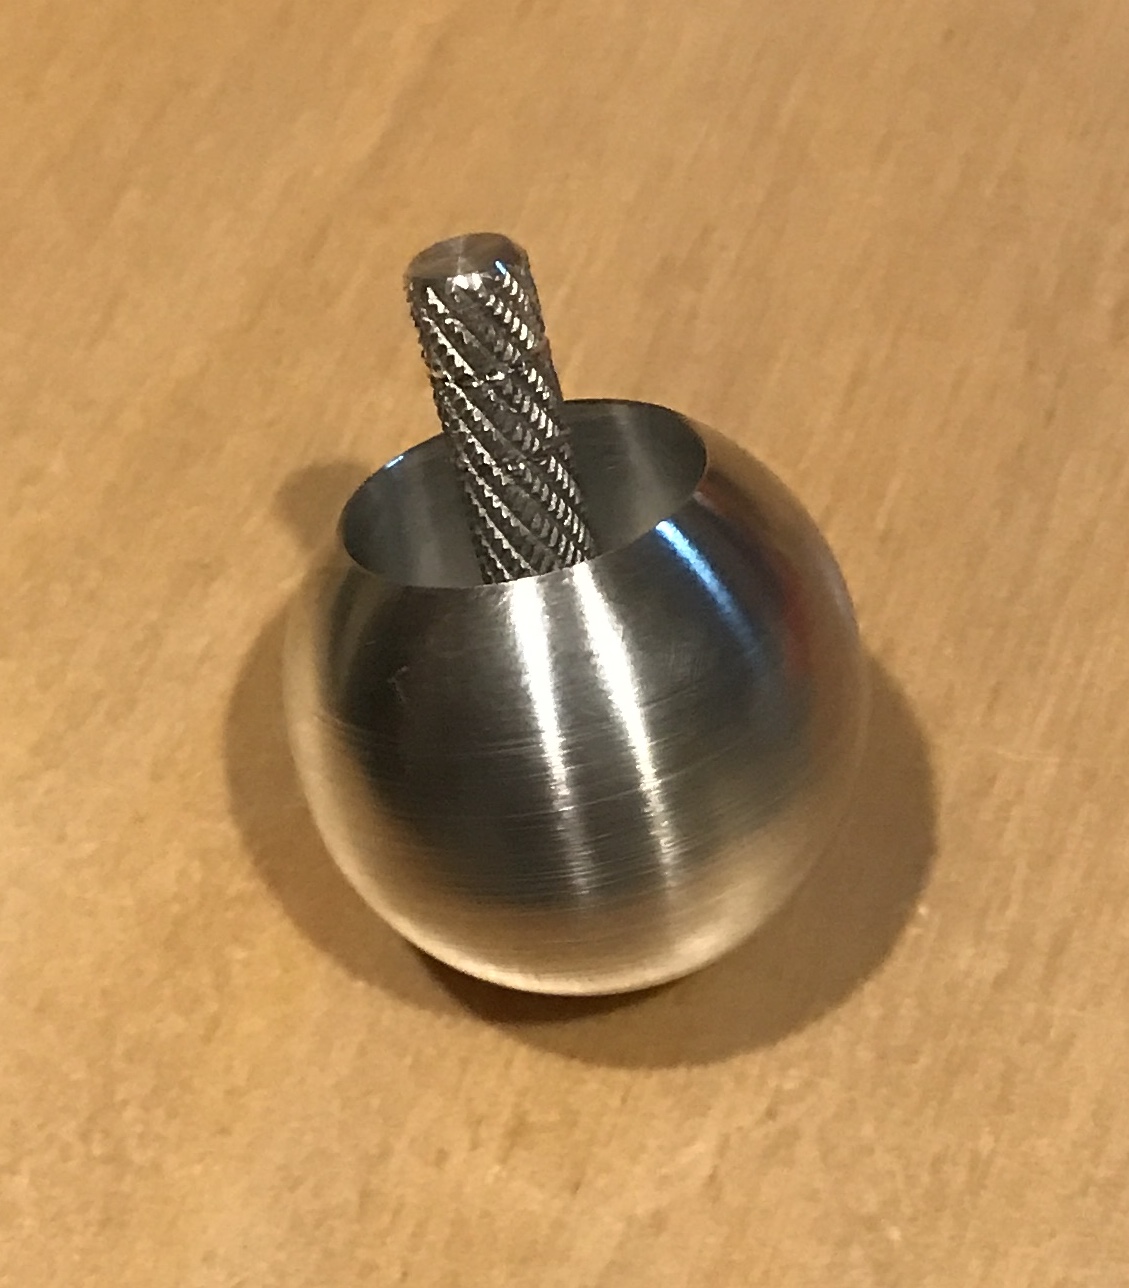
The handle was made next. A length of aluminum was threaded 1/4-28 on the end for 1/2". The rod was cut off slightly longer than 1 1/2". The threaded end was held in a collet. The free end was knurled after cleaning the knurls and the tool. Not a great knurl, but sufficient. The end was faced to length and chamfered. Three decorative grooves were made: one at the end of the knurl and two where there were lines. A bit of sanding between the knurl and the threads completed the handle. The first photo below shows the resulting handle and the second shows the completed toy.